
2.4 Fuellox Heavy Duty
Fuellox HD or Heavy Duty
Fuellox HD comes in several variants to support different use cases.
Fuellox HD is designed for heavy duty, high usaage and arduous environment like service trucks, large trailers and areas where there is limited protection for weather.
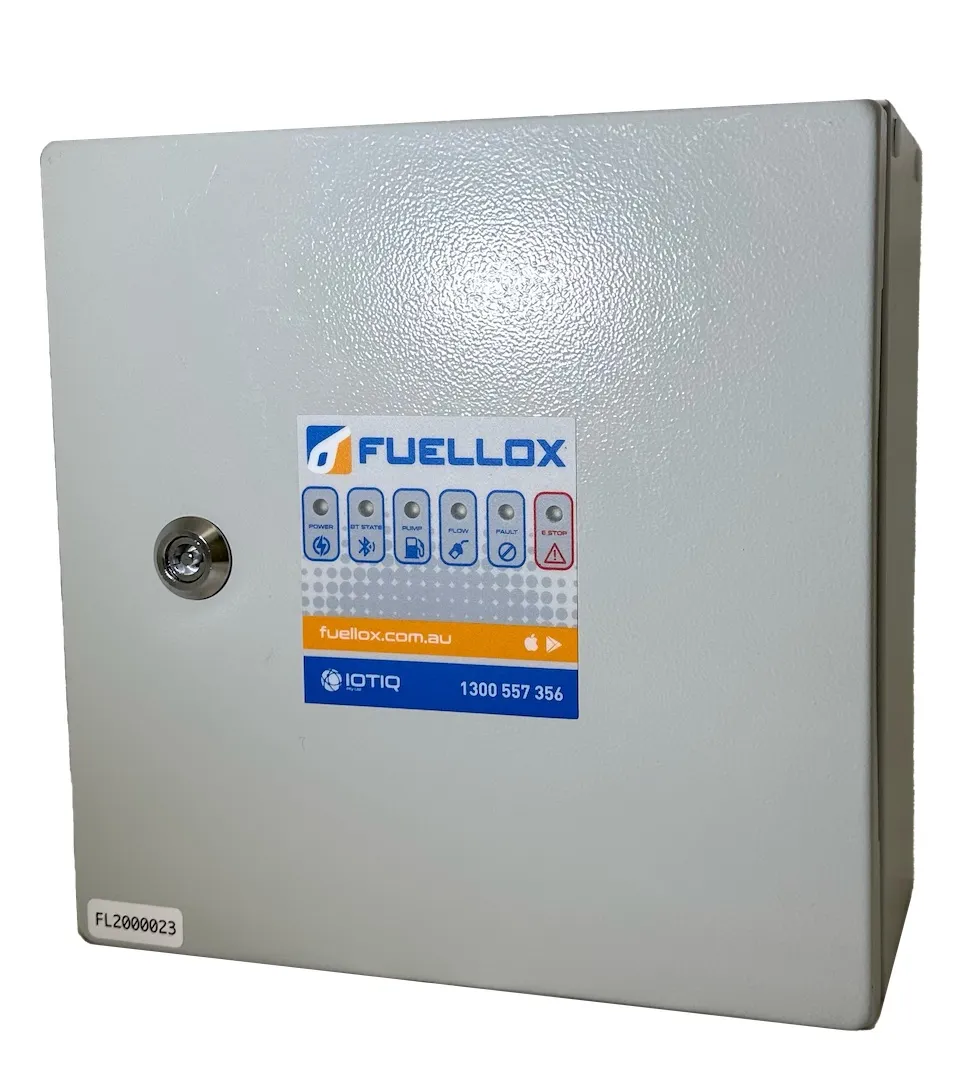
2.4.1 Fuellox HD
The standard Fuellox HD is supplied in a steel enclosure of 300mm x 300mm. Typically its 200mm deep although 150mm depth is available as an option.
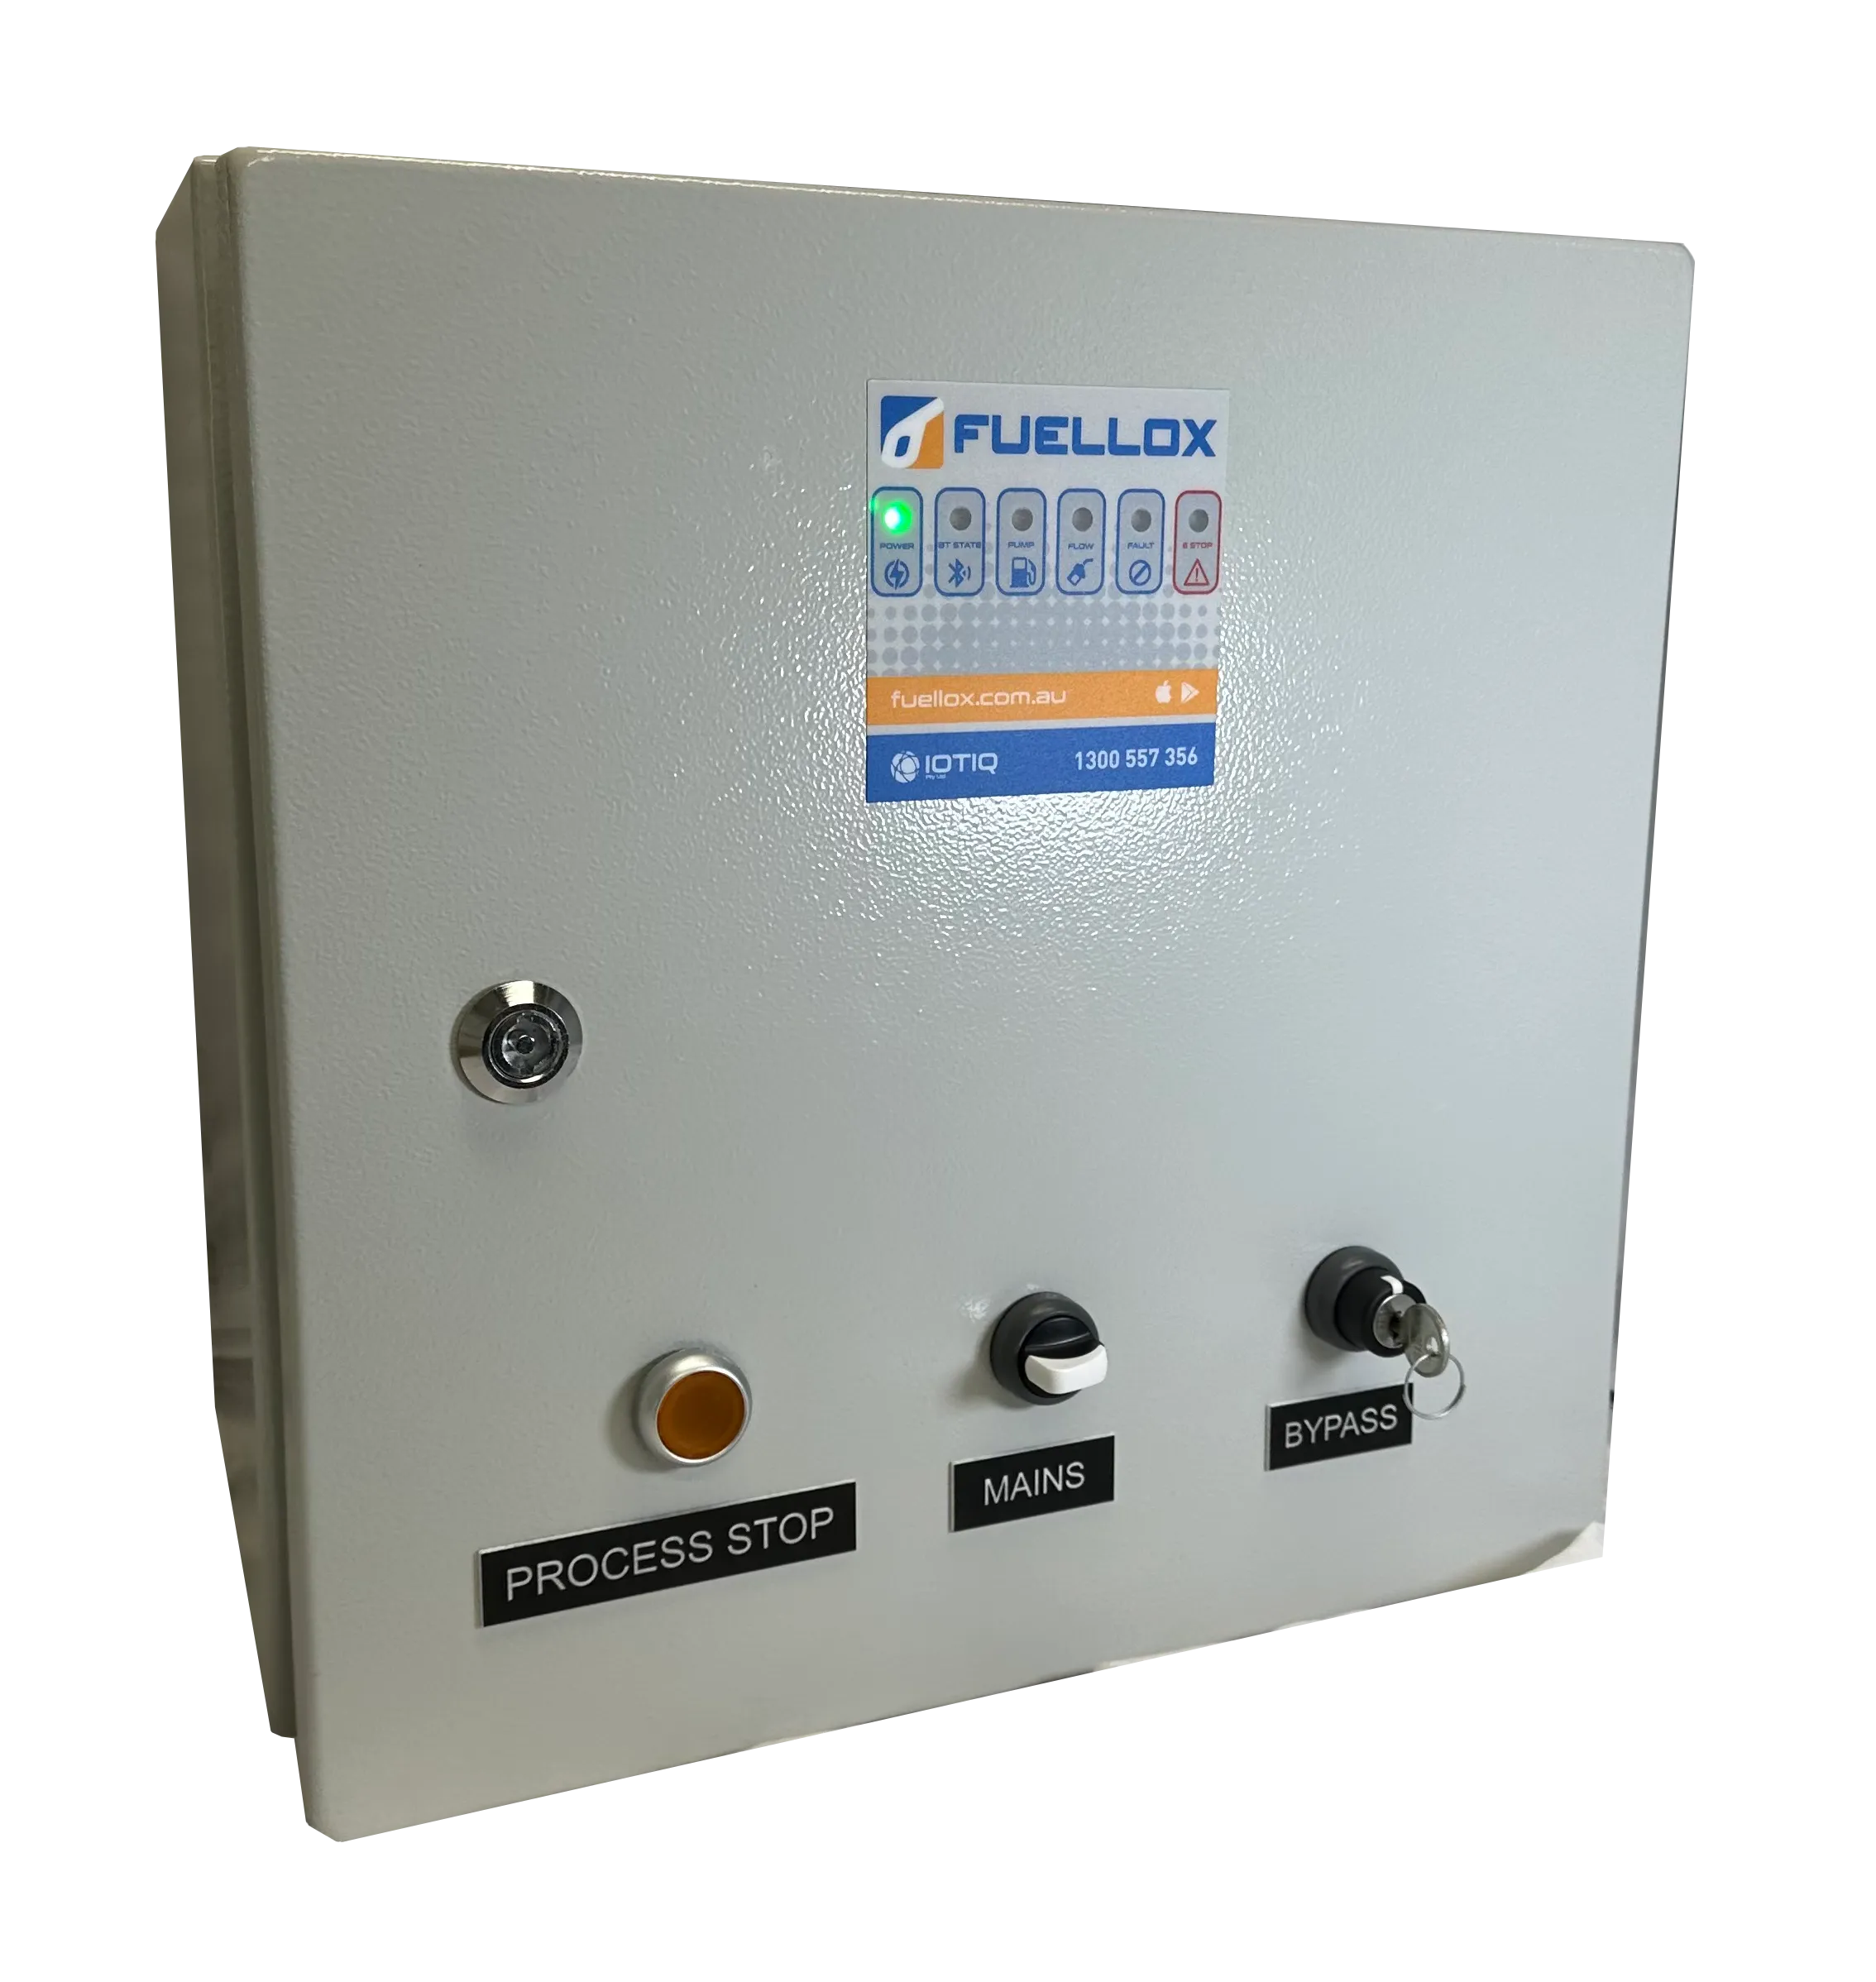
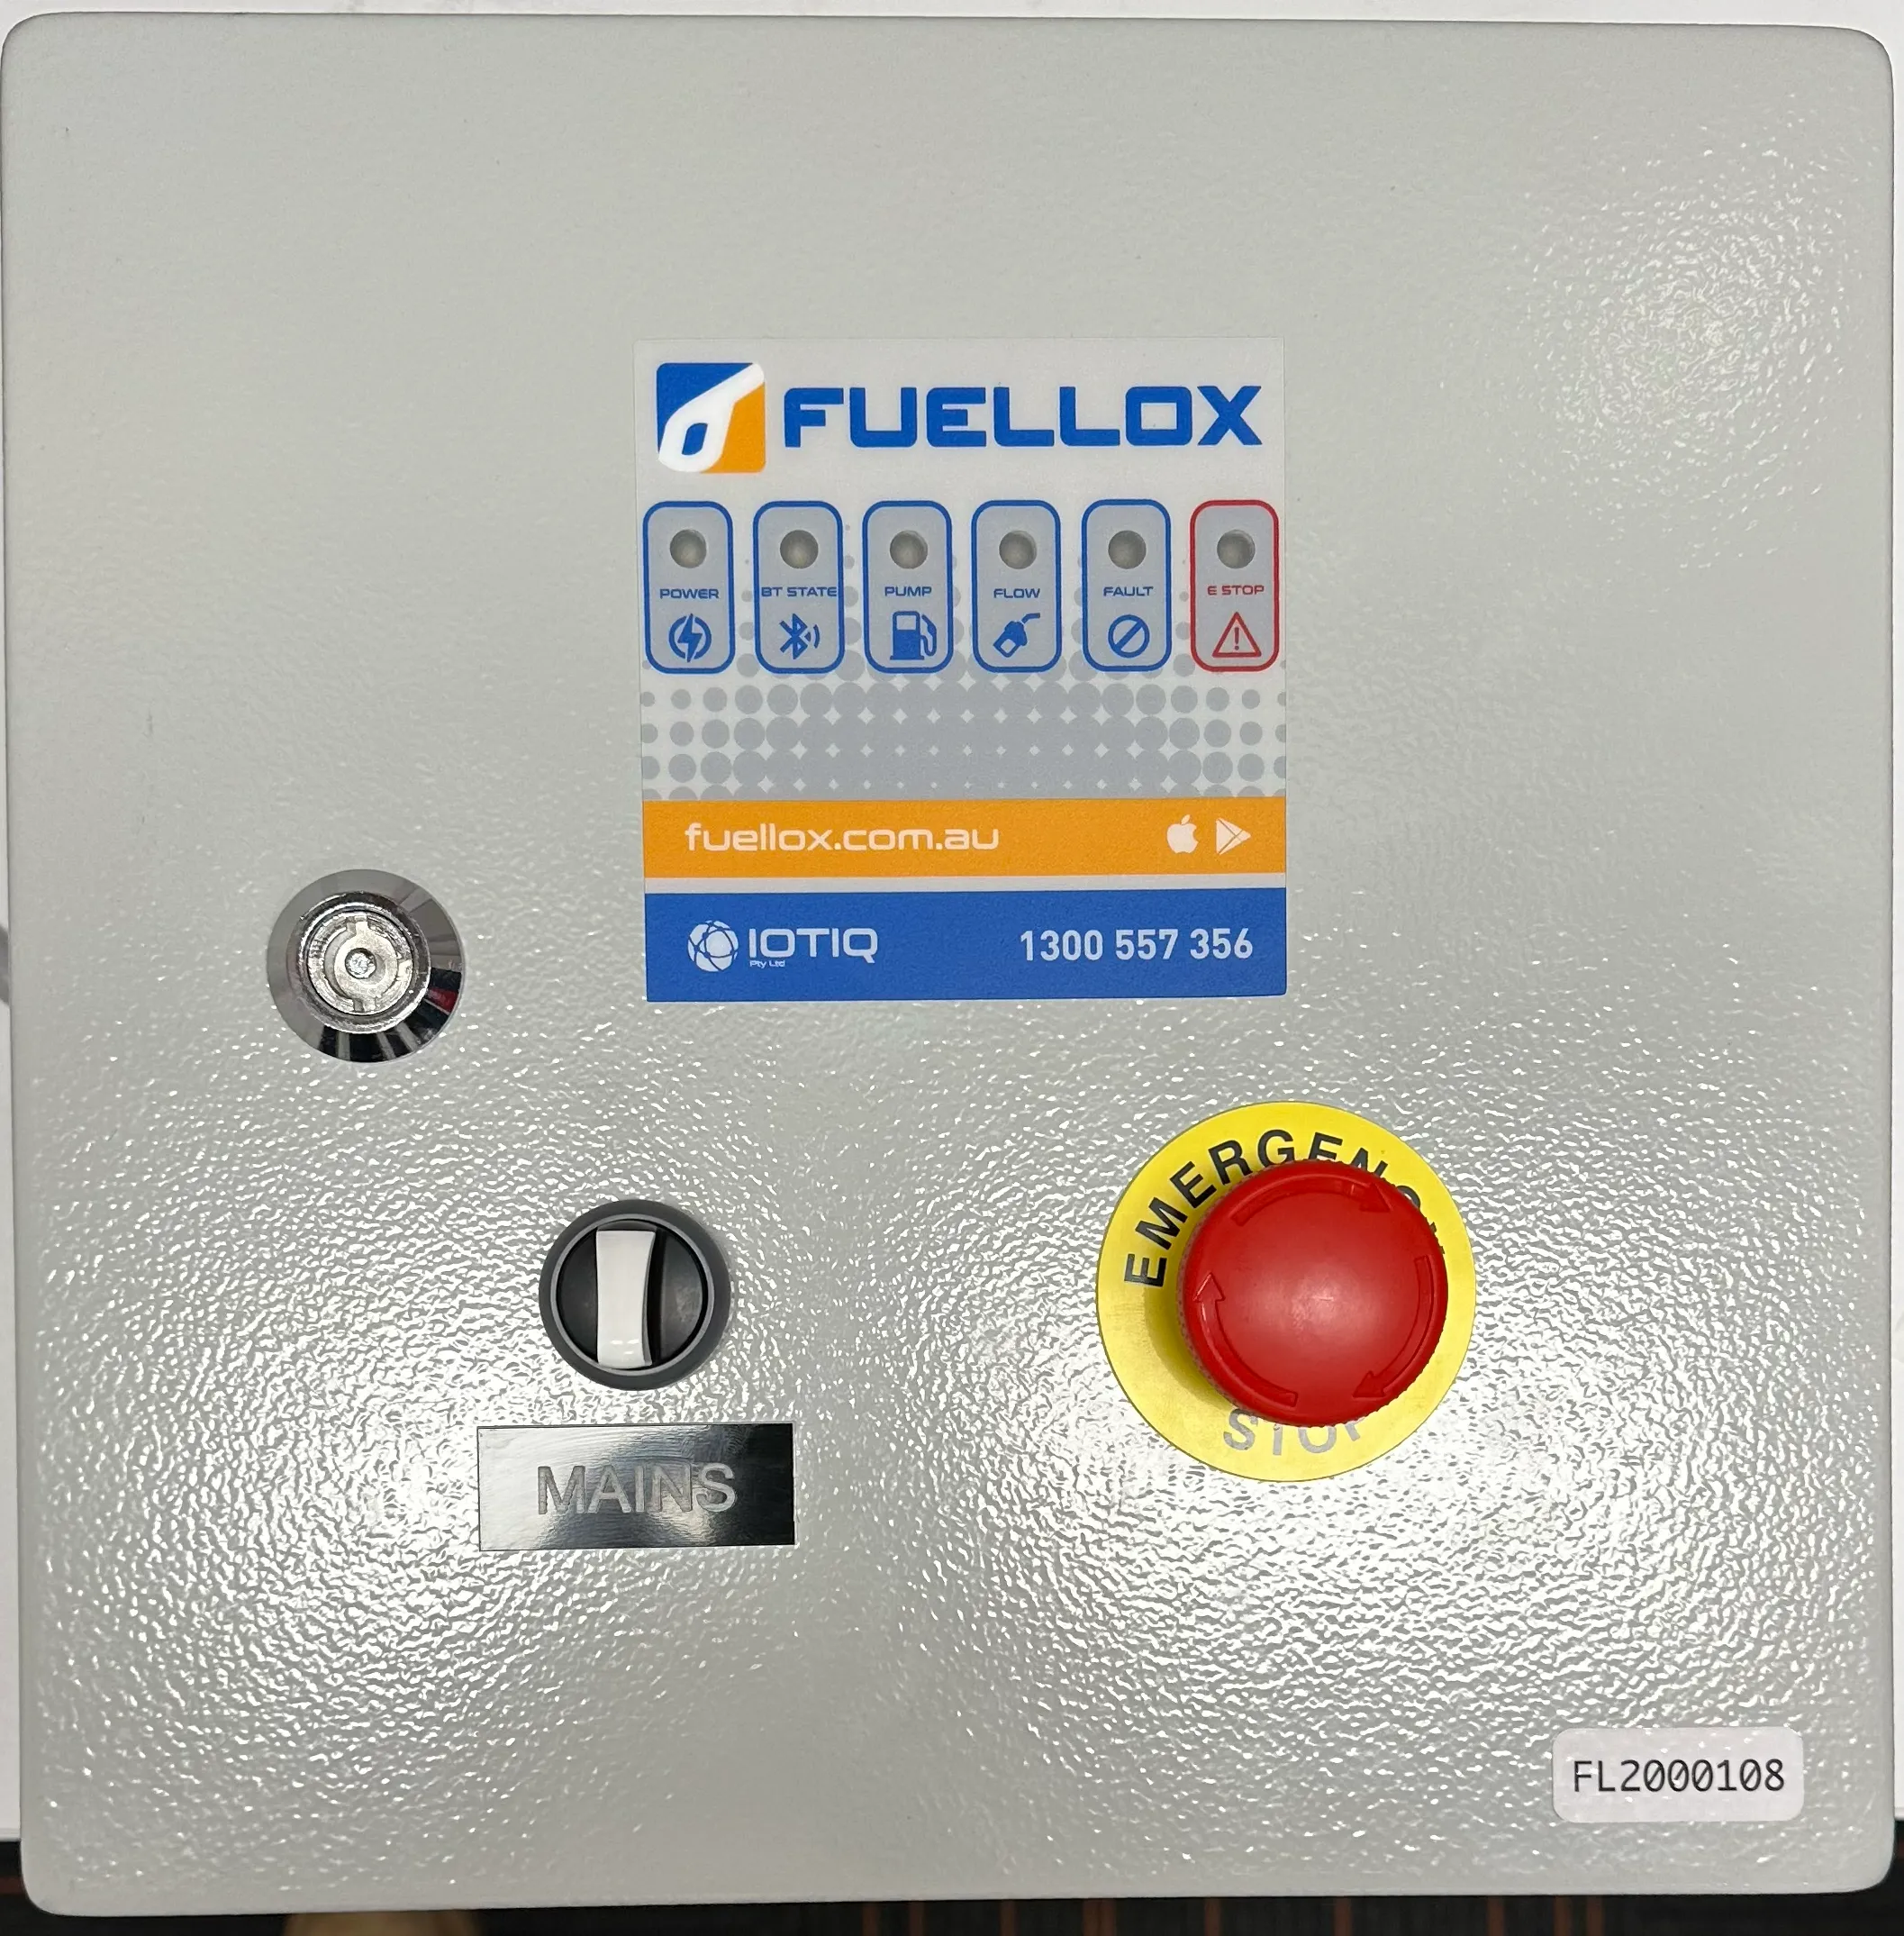
2.4.2 Fuellox HD CLS
The CLS variant comes with additional controls and is supplied in a 400 x 400mm cabinet, 200mm deep.
The additional controls are:
- Emergency Stop
- Mains Power
- Secure Bypass, capture key
In the variant shows the typical E-Stop is replaced with an illuminated Process Stop
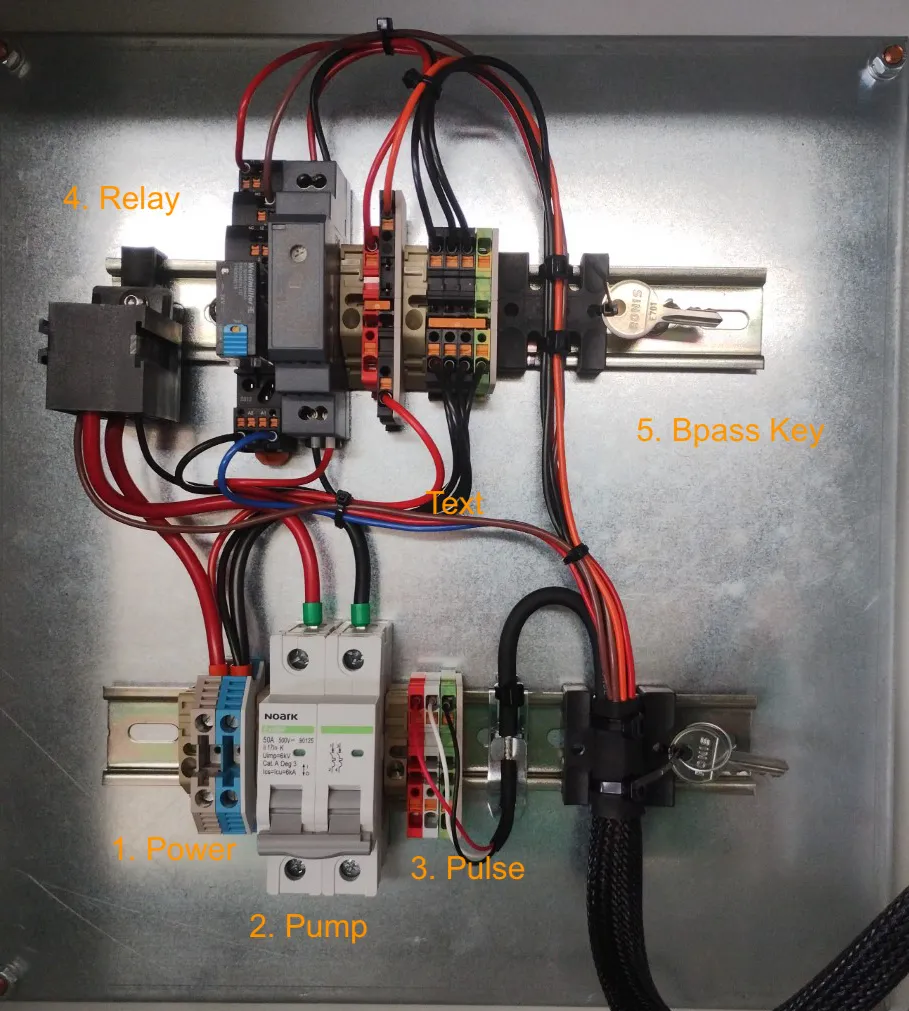
2.4.3 Fuellox HD Custom (LCR meters)
In many cases Fuellox HD is customised.
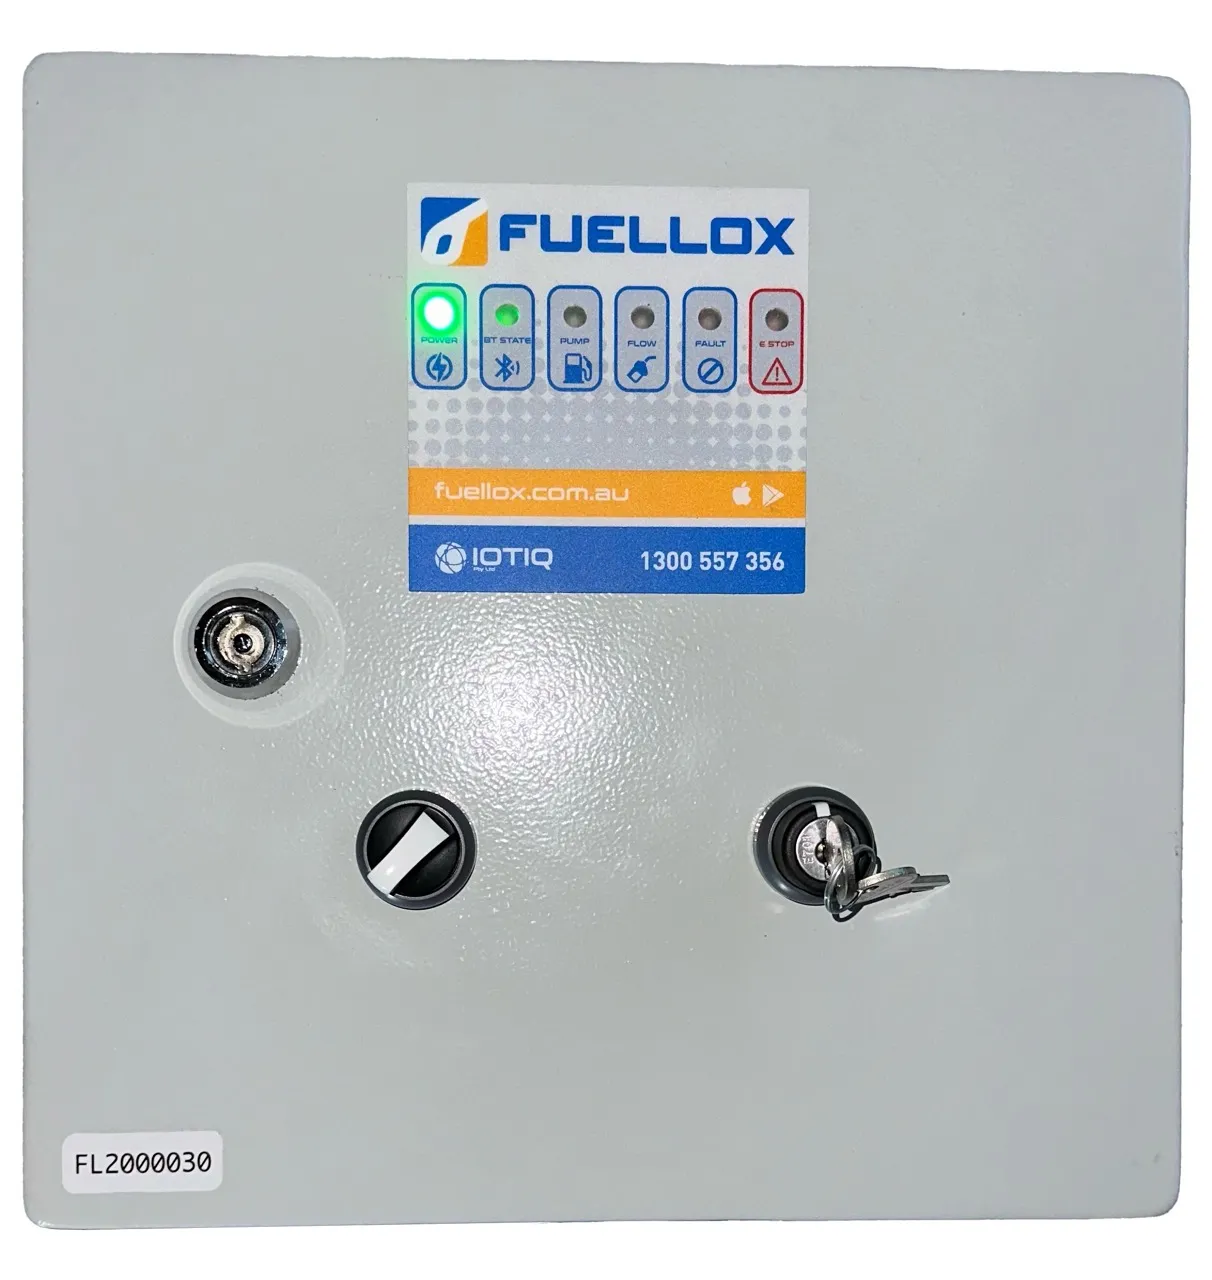
The version shown provides an isolation and secure key bypass. E Stop is provided elsewhere on the truck.
Further this unit has been optimised to operate with an LC Meter. LC Meter activates power to ground to start the pump. This unit therefore controls a relay to also ensure suitable pump control.
A similar wiring option is available to operate an air or pneumatic solenoid for non electric pumps.
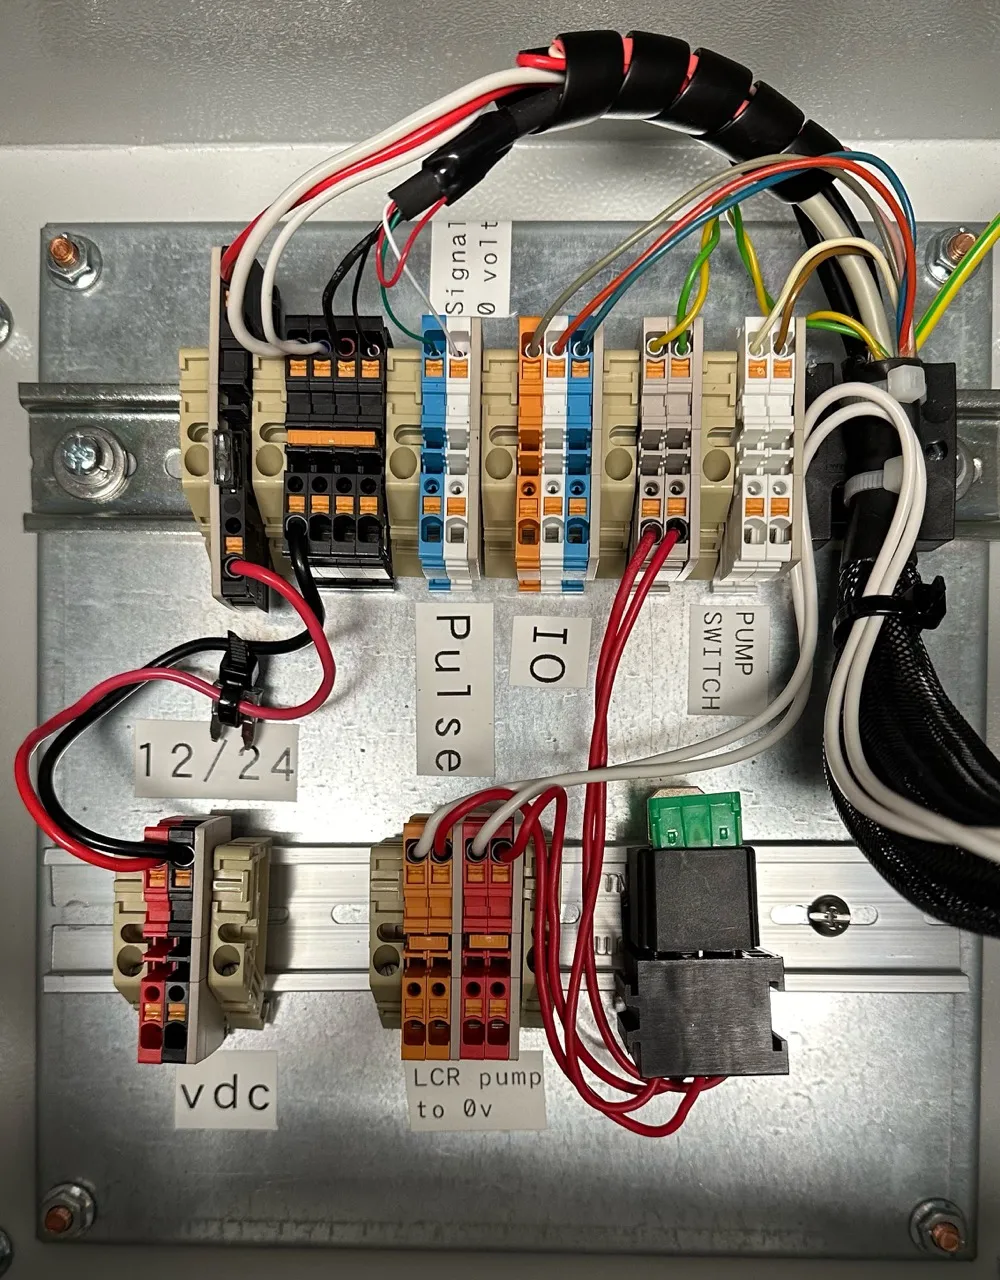
2.4.3.1 Wiring Guide
Connect the following wires
| Connector | Description |
|---|---|
| VDC Red | Vehicle Power 12/24V DC +ve |
| VDC Black | Vehicle Power 12/24V DC -ve |
| Pump Active Red/Orange | Pump Control Signal to Ground |
| Pulse Blue | From LCR Pin 53. *Note 1 |
| Pulse Blue/White | From LCR Pin 47. |
| Ble (not shown) | To Bluetooth BLE Antenna |
| IO | Input/Output - not used |
| Nozzle Switch | Nozzle/Pump Switch - Optional Future use |
Note 1
The LR Has dual outputs. Pin 52 correlates to D-Out-1 Pin 53 correlates to D-Out-2
2.4.4 Fuellox HD (DFV Meter)
Wiring Detail
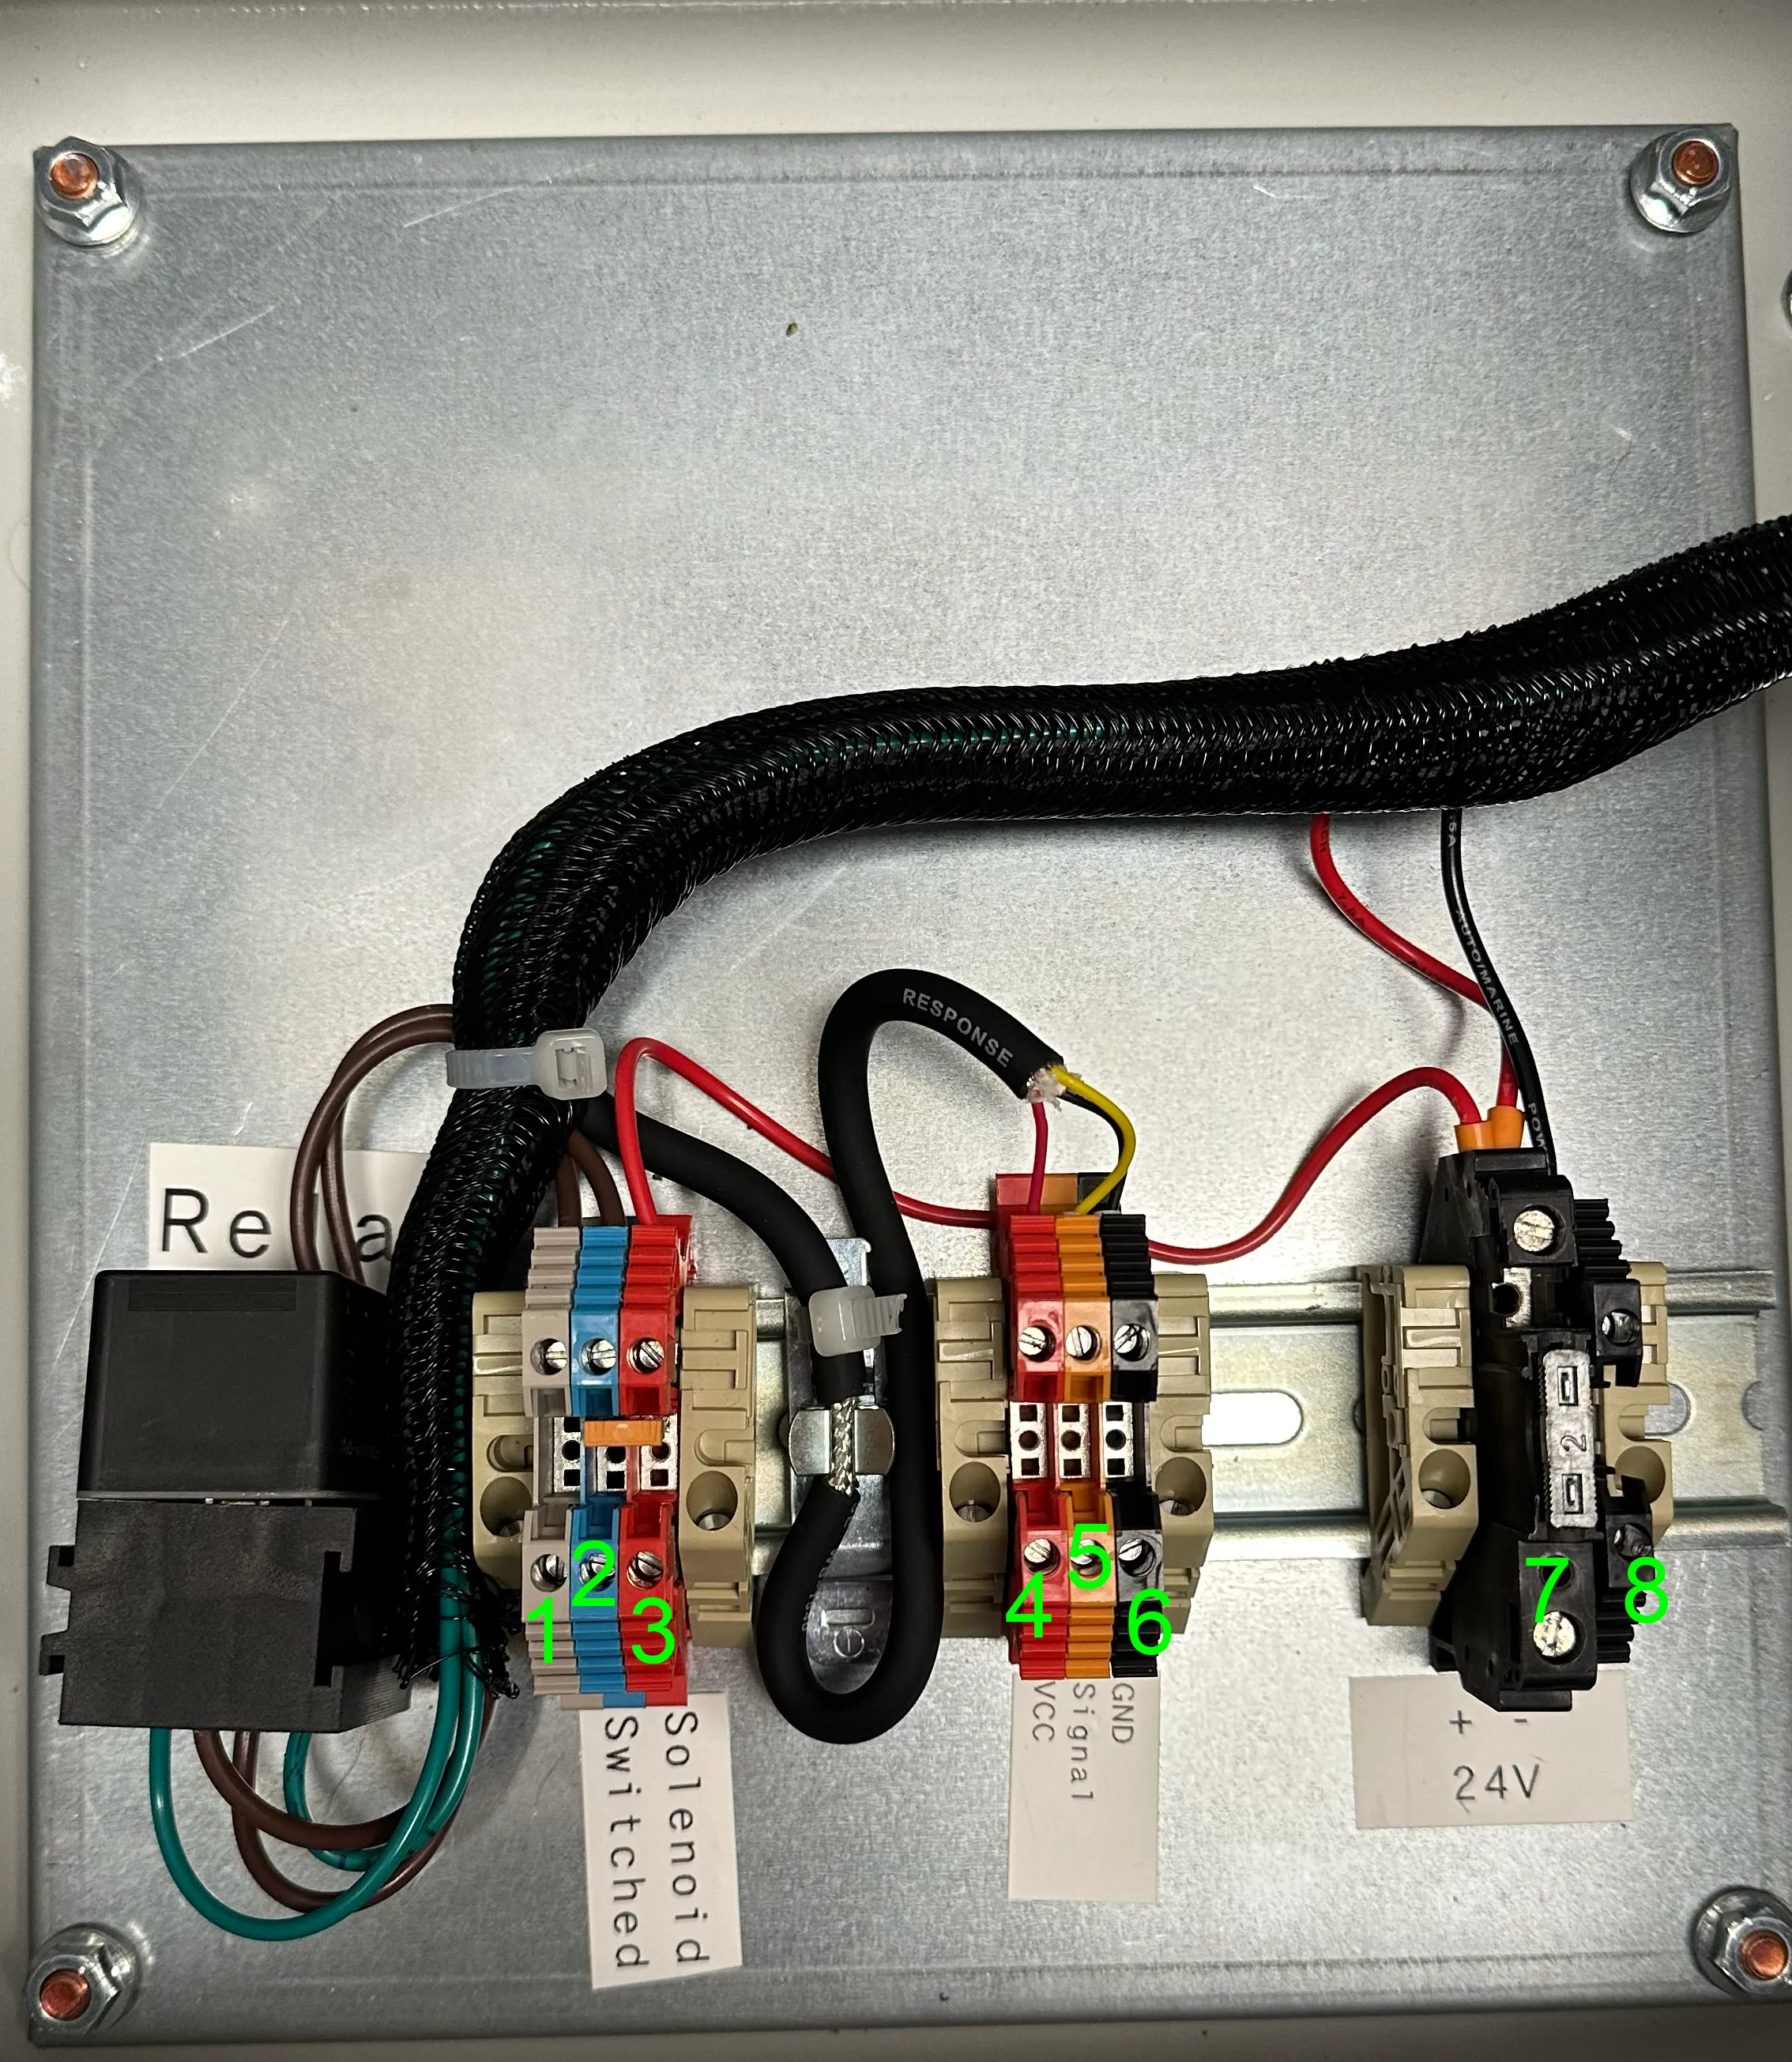
| Fuellox Pin | Description |
|---|---|
| 1 | Pump control switched |
| 2 | Pump control power |
| 3 | Pump control power |
| 2-3 | Bridged |
| 4 | Hall Effect meter power |
| 5 | Pulse Signal |
| 6 | Pulse 0v |
| 7 | Fused Power in, 12/24 V DC |
| 8 | Main Power Gnd 0v |
Solenoid
Wire Pin 1 to the Solenoid, and return that to ground in the Fuellox enclosure, or chassis
Optional:
- Remove the bridging connector.
- Run the solenoid loop from Pin 1 back to Pin 2.
- Supply an external power source from the vehicle power.
Flow Meter
- Enable the Liquip pulse output on the DFV
- Wire the DFV Pulse Output to Pin 5
- Wire the DFV Pulse 0v to Pin 6
Supply
- Hook up vehicle power to
- Pin 7 +ve
- Pin 8 -ve
Antenna
- Be sure to wire up the Fuellox BLE Antenna to the connector.
- Mount the Antenna at a high point on the vehicle.
- Do not top drill the Fuellox enclosure to mount the antenna.