
System Service
PCB Board Replacement
When a Fuellox PCB requires replacement, please follow the procedure outlined below:
Before beginning, make sure that the device is registered and available in your Fuellox account. If it is not, contact the Fuellox Helpdesk to have the device allocated to your environment.
Replacement Procedure
-
Carefully open the device enclosure to expose the PCB.
-
Disconnect each terminal block connection.
-
If installed, remove the external antenna.
-
Detach the antenna pigtail from any associated fixture.
-
Unscrew or unbolt the fasteners securing the PCB in place.
-
If available, place the removed PCB in an anti-static bag to protect it from electrostatic discharge.
-
Install the replacement PCB into the enclosure.
-
Secure the board using the original mounting hardware removed in step 5.
-
Reattach the antenna and pigtail connections.
-
Reconnect the terminal headers to the appropriate terminals.
-
Reinstall all covers and enclosures securely.
-
Restore power to the system and verify proper operation through testing.
Notes on Facia Systems
- The cover screws are non-threaded and require only a ¼ to ½ turn for removal.
- Do not use electric screwdrivers, as they may damage or destroy the enclosure.
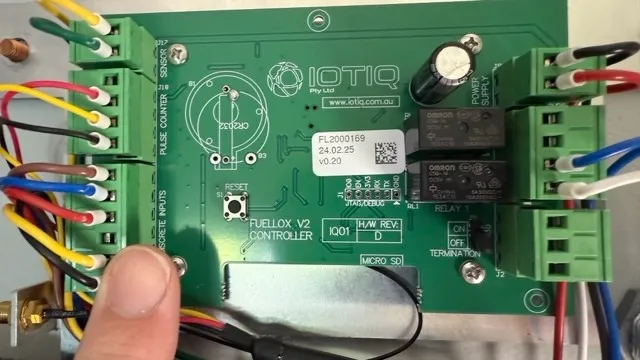
Antenna Pigtail
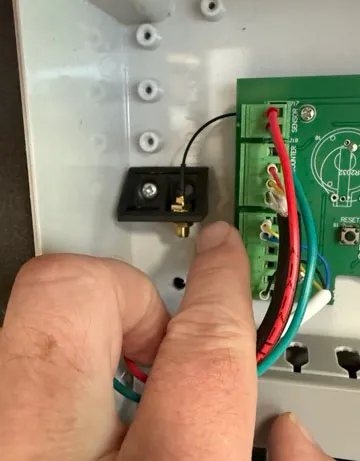
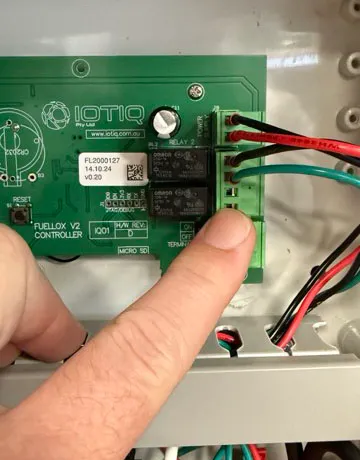
PCB Terminals
Notes on HD Systems
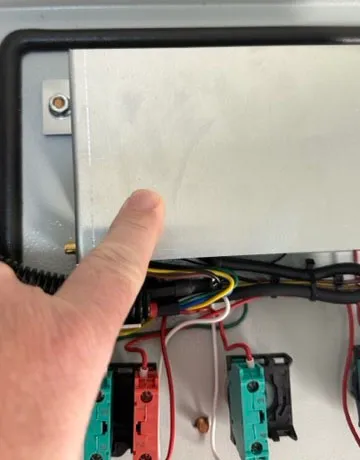
Make sure the metal PCB shield is reinstalled during reassembly to maintain system protection and integrity.
PCB Cover
Antenna Pigtail
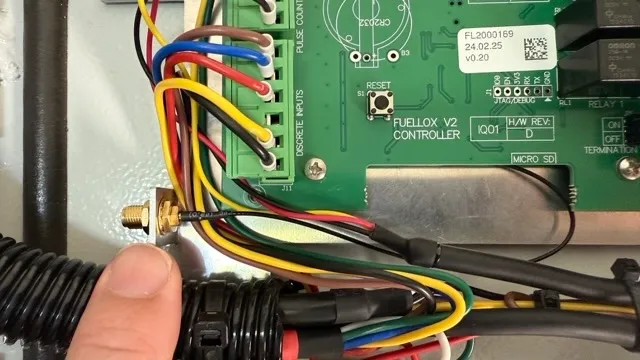
PCB Terminals
Meter Calibration
For detailed instructions on calibrating your meter, please refer to the Device Calibration page.
Bluetooth Repair
To learn how to re-pair a Bluetooth connection, please refer to the BLE Re-Pair guide.